


How to Install Curtains
The right installation for a perfect finish
Organise your parts and check you have everything before commencing installation.
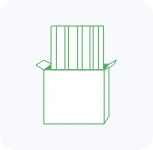
Curtains Panels
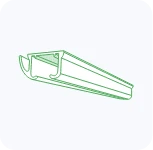
Track
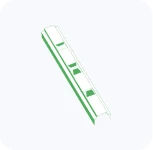
Track Joiner
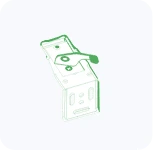
Brackets
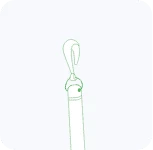
Child Safety

Screws
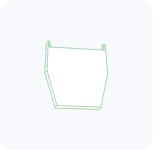
Bracket Cover
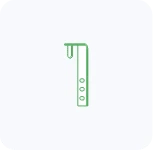
Return Clip
Double check the fitting location
Is the curtain being attached to the Ceiling (top fix) or the wall (face fix)?
Make sure you have clean hands!
The last thing you want to do is get your curtains dirty whilst installing them.
Steps
How to Install Your Curtain Track
Bracket requirements:

Joining the Tracks
Before attaching your brackets, drilling pilot holes is recommended to avoid your architrave from splitting
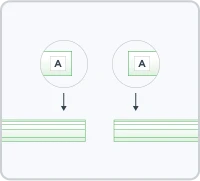
A. Identify the Matching Tracks: Each track piece is labeled with letters (e.g., A to A, B to B) to ensure you join the correct sections. Locate the labels before proceeding.
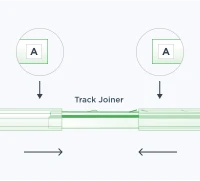
B. Connect the Tracks: Take the track joiner and slide it halfway into one end of the first track. Then align the labeled end of the second track with the first and slide it onto the joiner until the tracks meet seamlessly in the middle.

Determine your bracket positions
Every window is different. You need to figure out how many brackets you need, where they will be placed, and how they will be attached to the wall.
Bracket requirements:
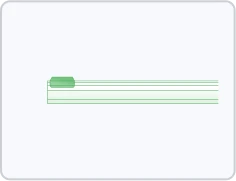
The end brackets must be right at the end of the track
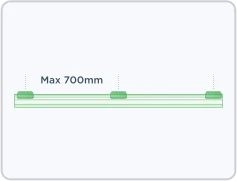
The remaining brackets should be no more than 700mm apart, centre
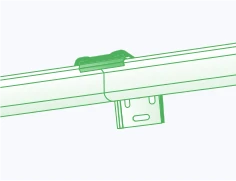
Joined Tracks require a bracket right over the join.
A. Identify which brackets can be attached to your wall studs
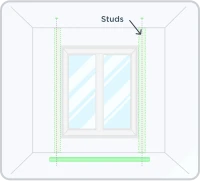
1. Locate studs using a stud finder. Your window should have studs either side of it.
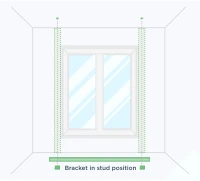
2. Place a bracket next to the track inline with each stud it can be attached to
B. Identify which other brackets are required
Using the bracket requirements above, place the remaining required brackets next to the track. These can be installed using ramset hollow wall anchors.
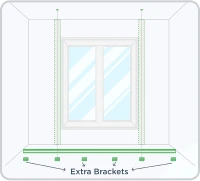
1. For example: If your studs are more
than 700mm apart, or not in the end
bracket locations

Install Brackets
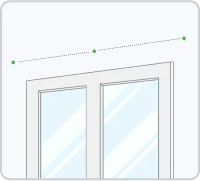
A. Mark your wall for each bracket at
the exact height you measured for
your track to sit. For most curtains, this
will be the drop measurement you supplied.
You can check your order details.
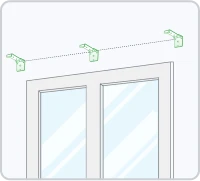
B. Position the brackets so that the top of the bracket is inline with your first marks
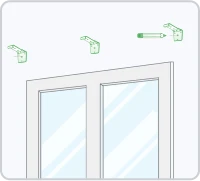
C. Mark the two outside oval shaped holes, in their center, this is where your screws will go
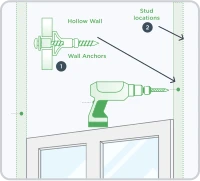
D. Drill pilot holes/attach hollow wall anchors
1. For hollow wall anchors: Attach hollow wall anchors into position following the product instructions
2. For stud locations: Using a 3mm drill bit, drill your pilot holes
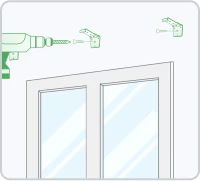
E. Attach your brackets tightly using your drill and screws provided

Install the track
Your curtain track is designed to simply clip into the bracket
A. Prepare the Brackets
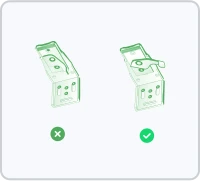
A. Open the swing arm on all brackets to allow space for the track to be inserted.
B. Lift the Track into Place
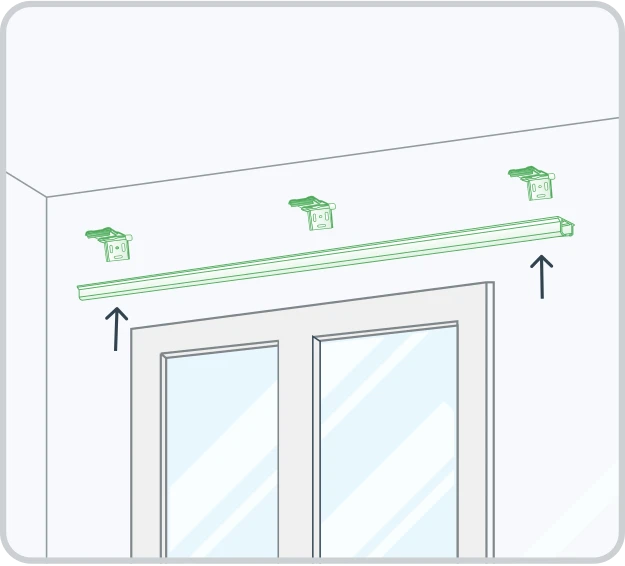
A. With two people (or more for very wide tracks), carefully lift the track into position.
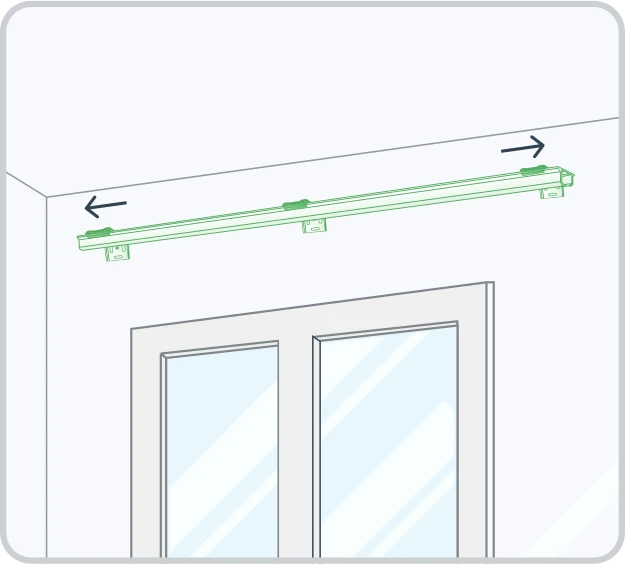
B. Place the track into two brackets towards the outside (not the end brackets, especially for wide tracks)
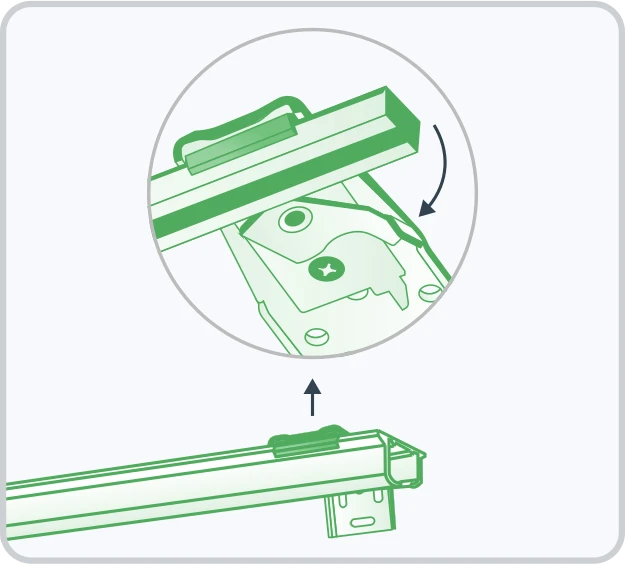
C. Partially close the swing arms on these brackets to hold the track loosely in place.
C. Adjust the Track Position:
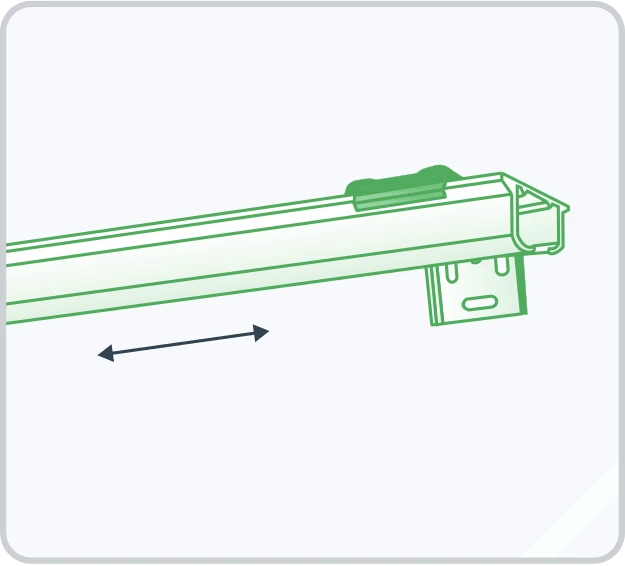
A. Slide the track left or right to align it correctly.
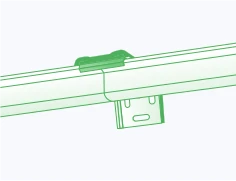
B. Ensure that a bracket is positioned directly over any track joins for proper support
D. Secure the Track
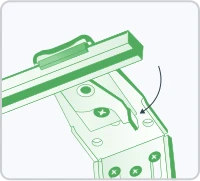
A. Fully close the swing arms on the brackets holding the track in place. And then lock the track into all remaining bracket.
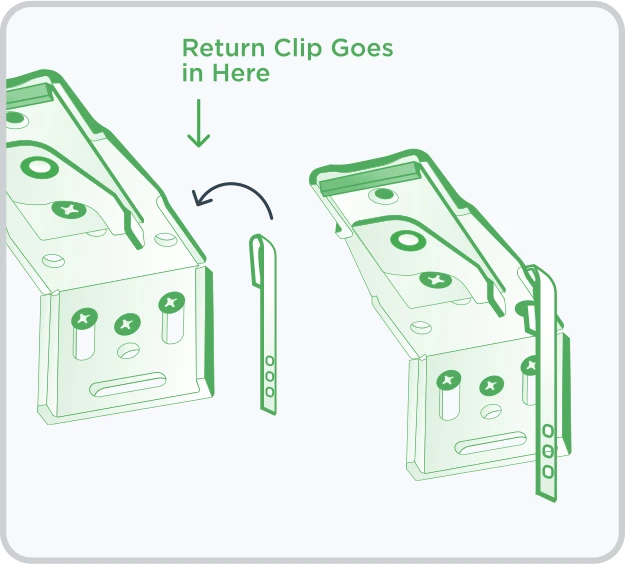
B. For curtains with returns: Clip the return clip into the outside hole on top of the end brackets which will have returns.
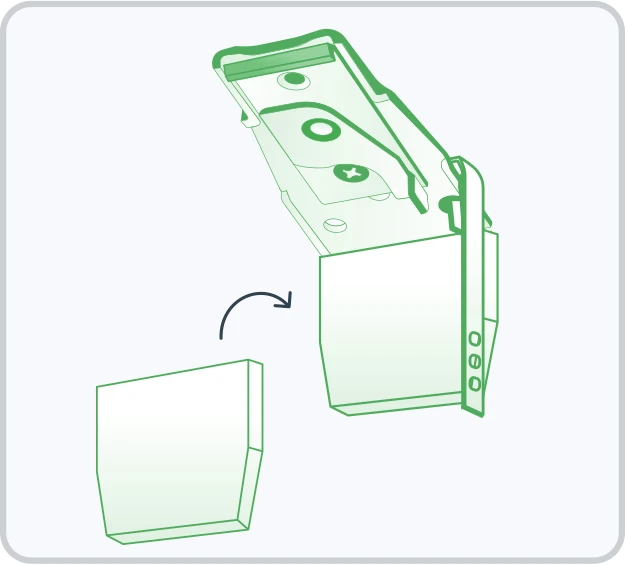
C. Attach your bracket covers
Joining the Tracks
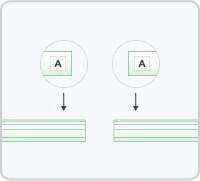
A. Identify the Matching Tracks: Each track piece is labeled with letters (e.g., A to A, B to B) to ensure you join the correct sections. Locate the labels before proceeding.
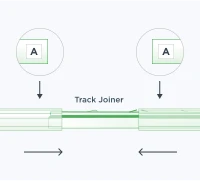
B. Connect the Tracks: Take the track joiner and slide it halfway into one end of the first track. Then align the labeled end of the second track with the first and slide it onto the joiner until the tracks meet seamlessly in the middle
Determine your bracket positions
Every window is different. You need to figure out how many brackets you need, where they will be placed, and how they will be attached to the ceiling.
Bracket requirements:
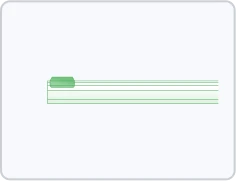
The end brackets must be right at the end of the track
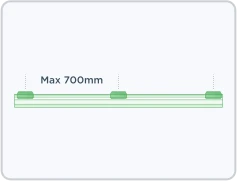
The remaining brackets should be no more than 700mm apart, centre
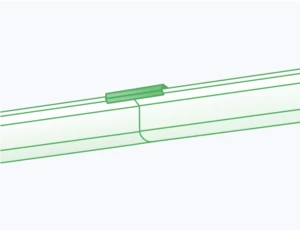
Joined Tracks require a bracket right over the join.
A. Identify which brackets can be attached to your wall studs
1. Locate battens using a stud finder
2. Place a bracket next to the track inline with each batten it can be attached to
B. Identify which other brackets are required
Using the bracket requirements above, place the remaining required brackets next to the track. These can be installed using ramset hollow wall anchors.
1. For example: If your studs are more than 700mm apart, or not in the end bracket locations
Install Brackets
A. Mark your ceiling
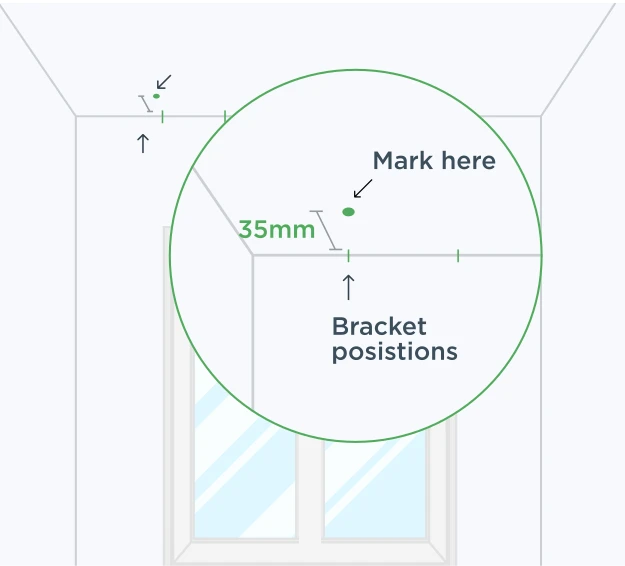
A. Make a mark on your ceiling at each brack location widthwise, 35mm from the wall or any protruding window frames. This is where your screw will go.
B. Drill pilot holes/attach hollow wall anchors
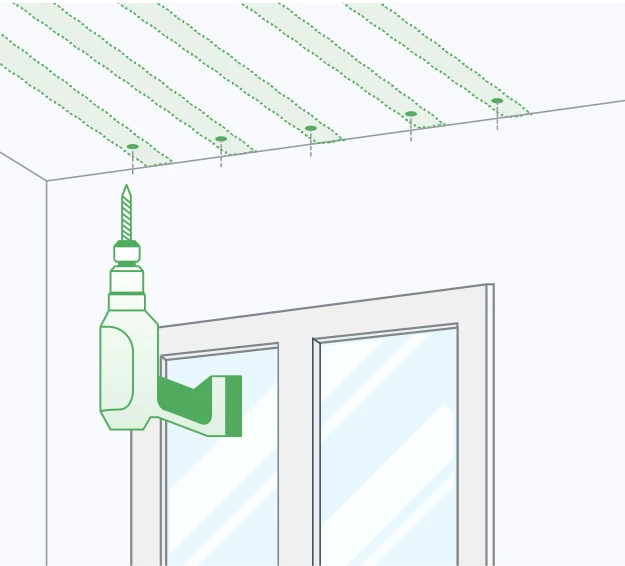
A. For batten locations: Using a 3mm drill bit, drill your pilot holes
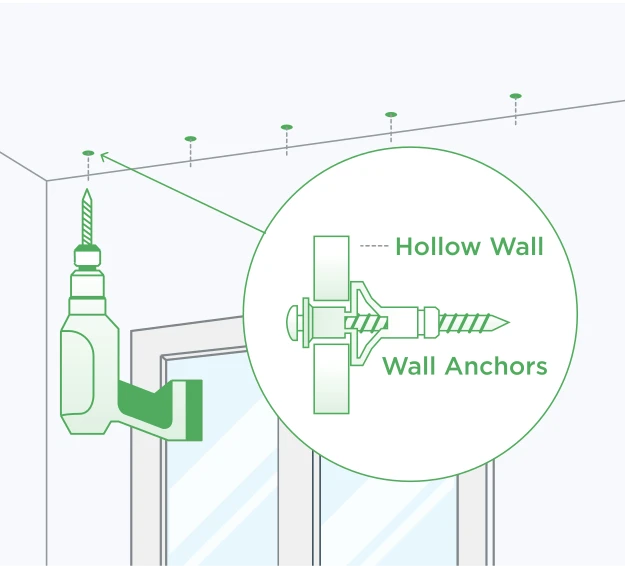
B. For hollow wall anchors: Attach hollow wall anchors into position following the product instructions
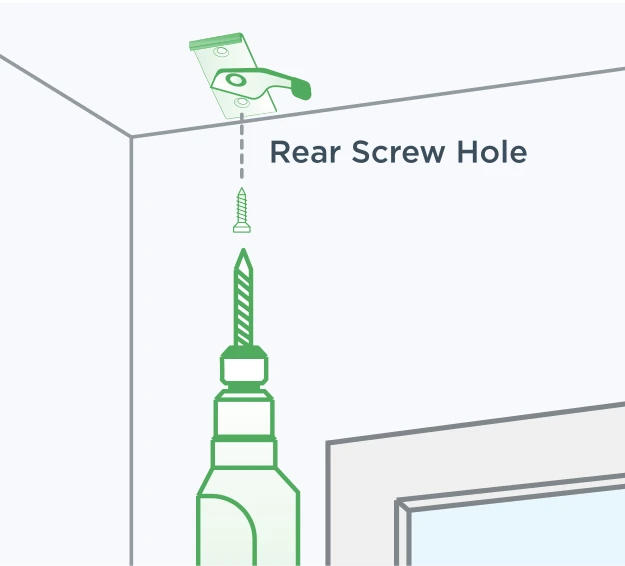
C. Attach your brackets using the rear screw hole
Install the track
Your curtain track is designed to simply clip into the bracket
A. Prepare the Brackets
A. Open the swing arm on all brackets to allow space for the track to be inserted.
B . Lift the Track into Place
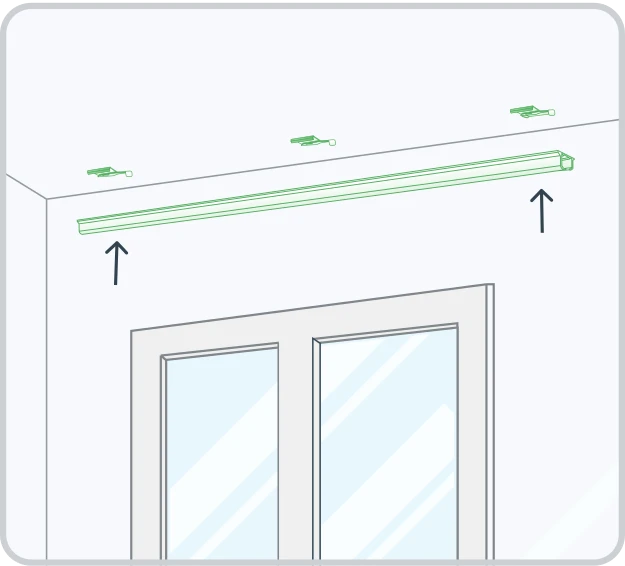
A. With two people (or more for very wide tracks), carefully lift the track into position.
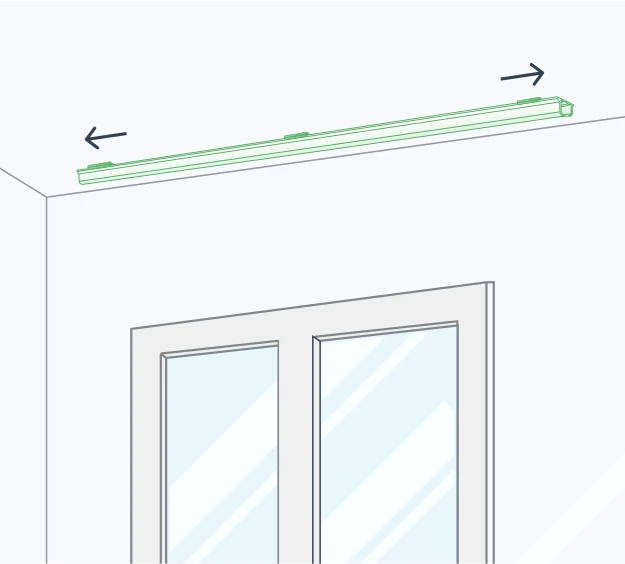
B. Place the track into two brackets towards the outside (not the end brackets, especially for wide tracks).
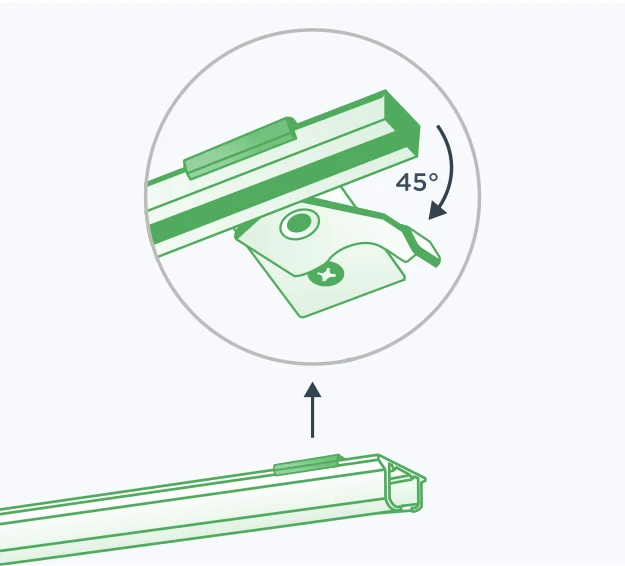
C. Partially close the swing arms on these brackets to hold the track loosely in place.
C. Adjust the Track Position:
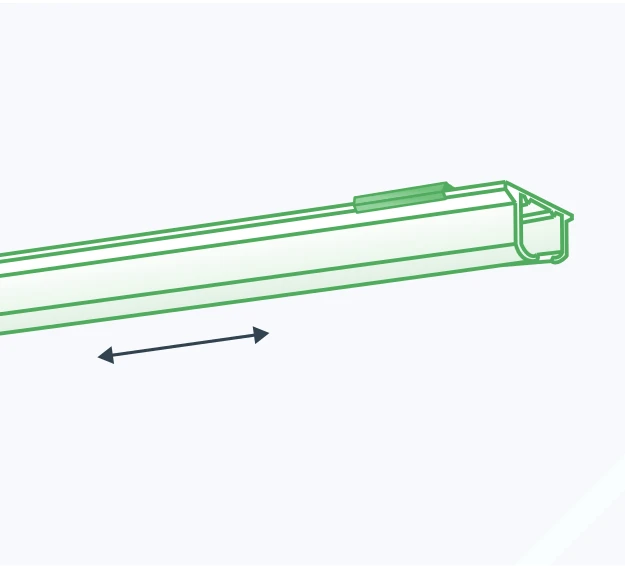
A. Slide the track left or right to align it correctly.
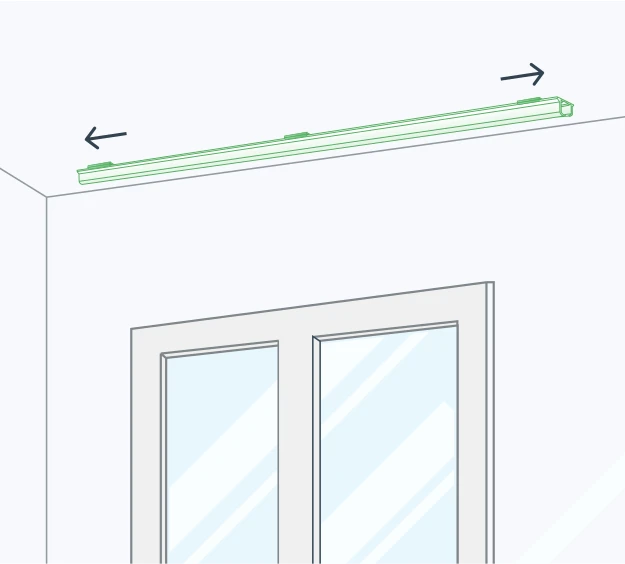
B. Ensure that a bracket is positioned directly over any track joins for proper support.
D. Secure the Track
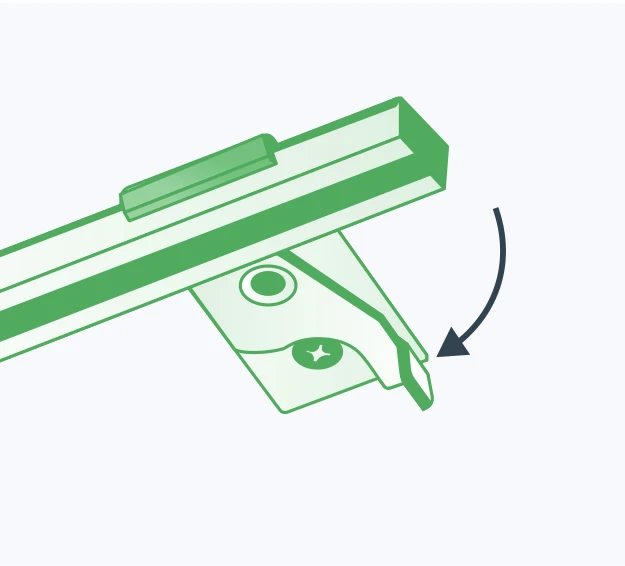
A. Fully close the swing arms on the brackets holding the track in place. And then lock the track into all remaining brackets
S-Fold Curtains
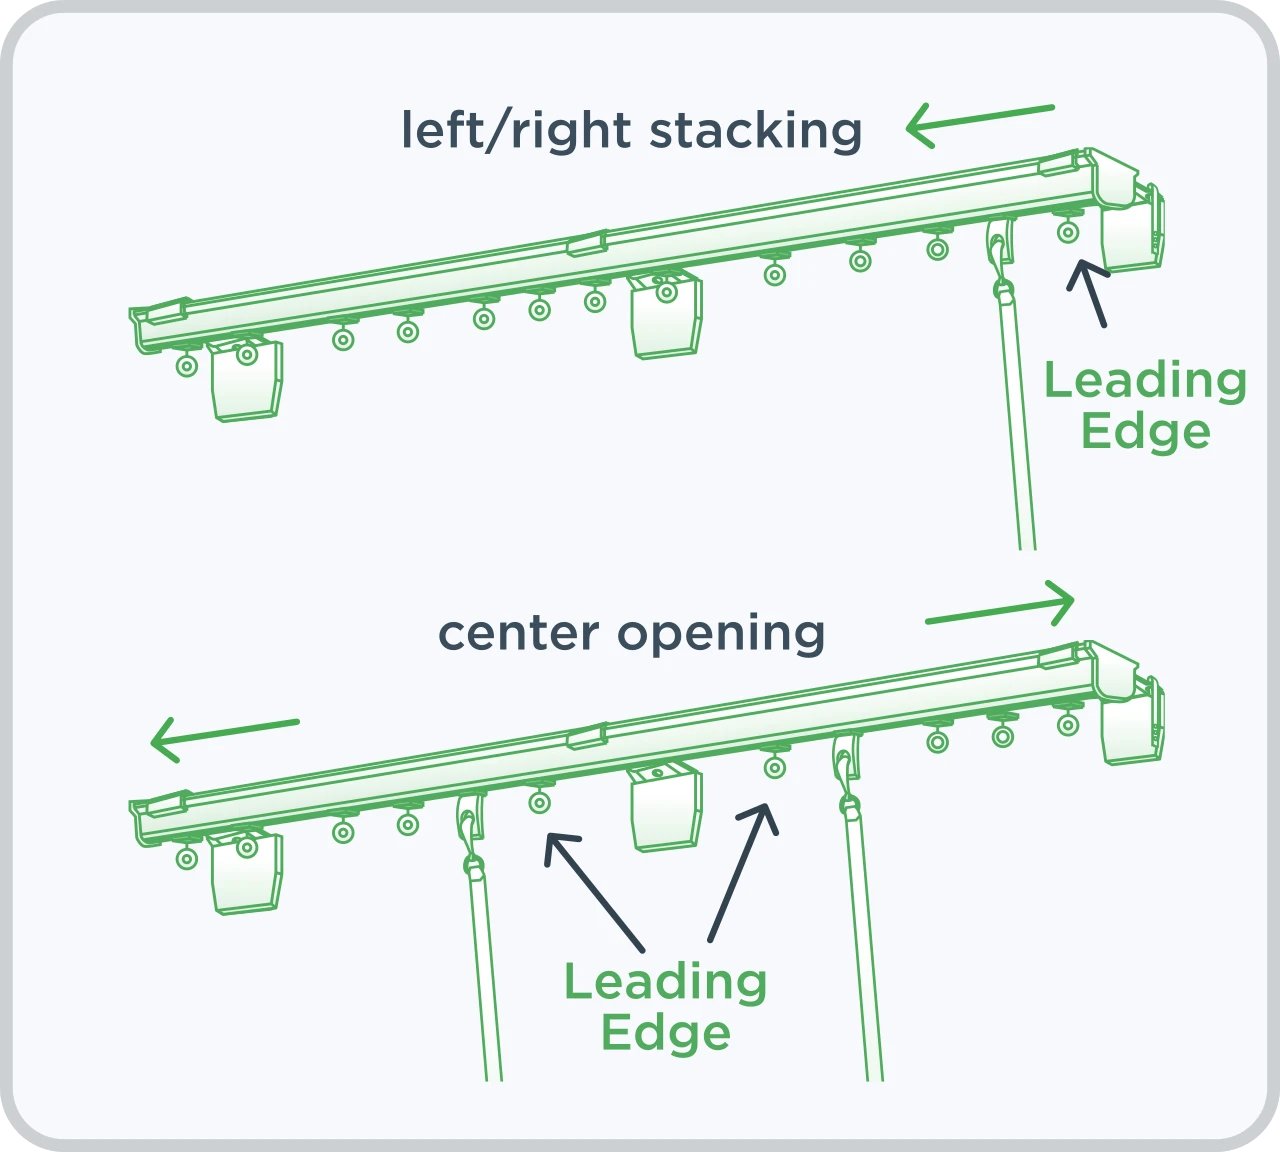
Attach your curtain wand
A. Clip your wand into the second runner on the leading end of the curtain. The runner will be slightly longer than the others
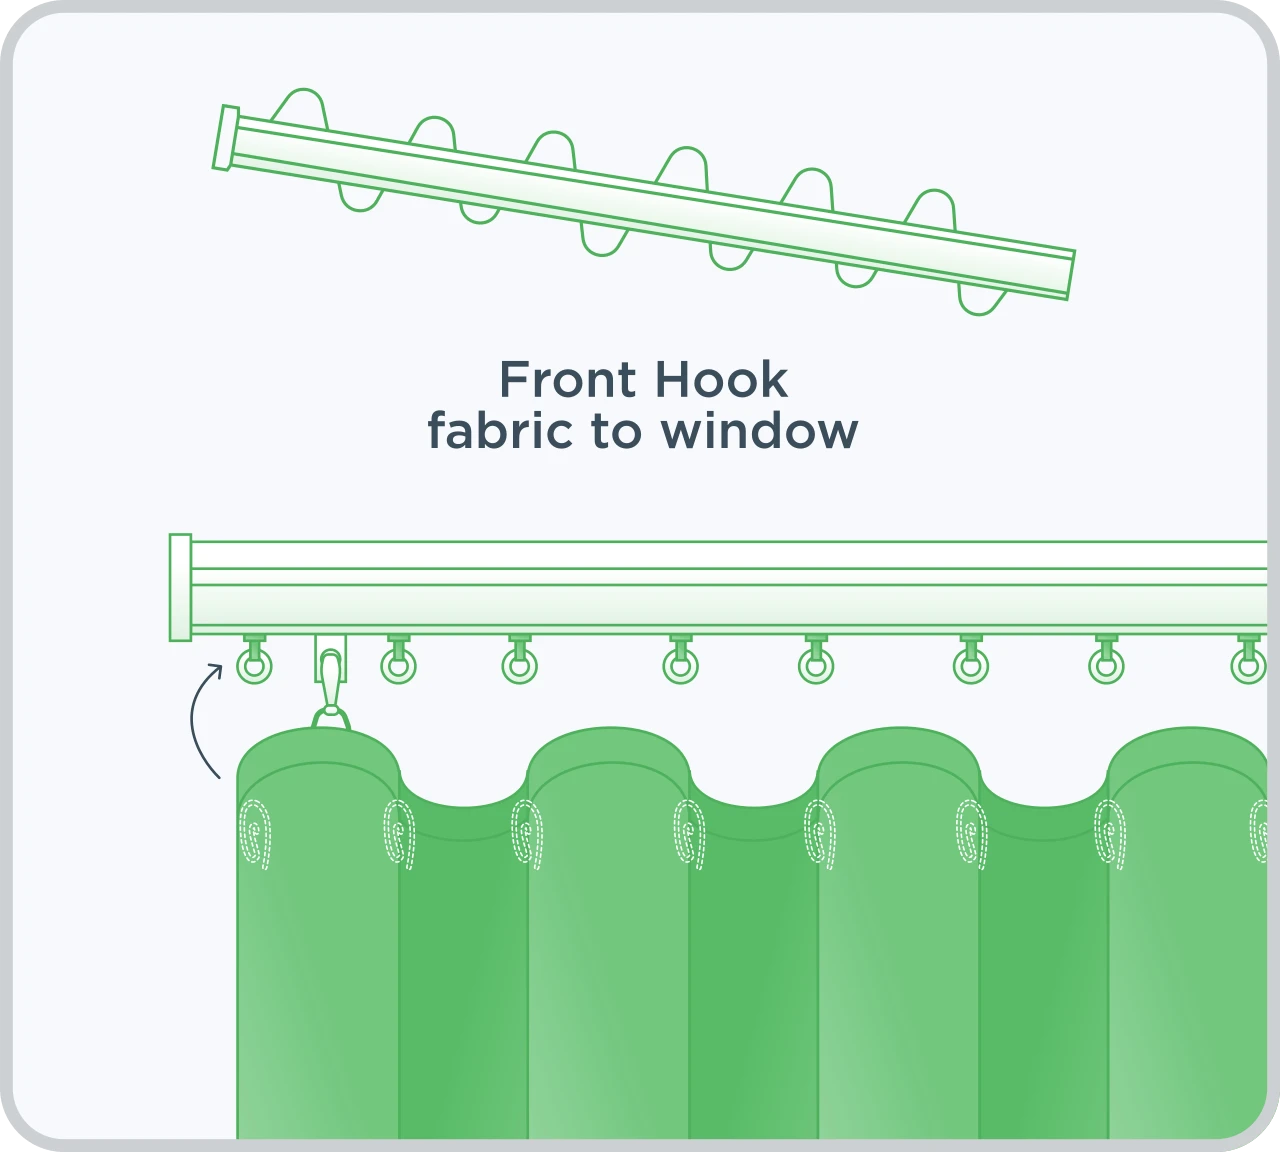
B. Starting at the leading or inside end of the curtain, clip the first hook into the runner, so that the fabric faces towards the window.
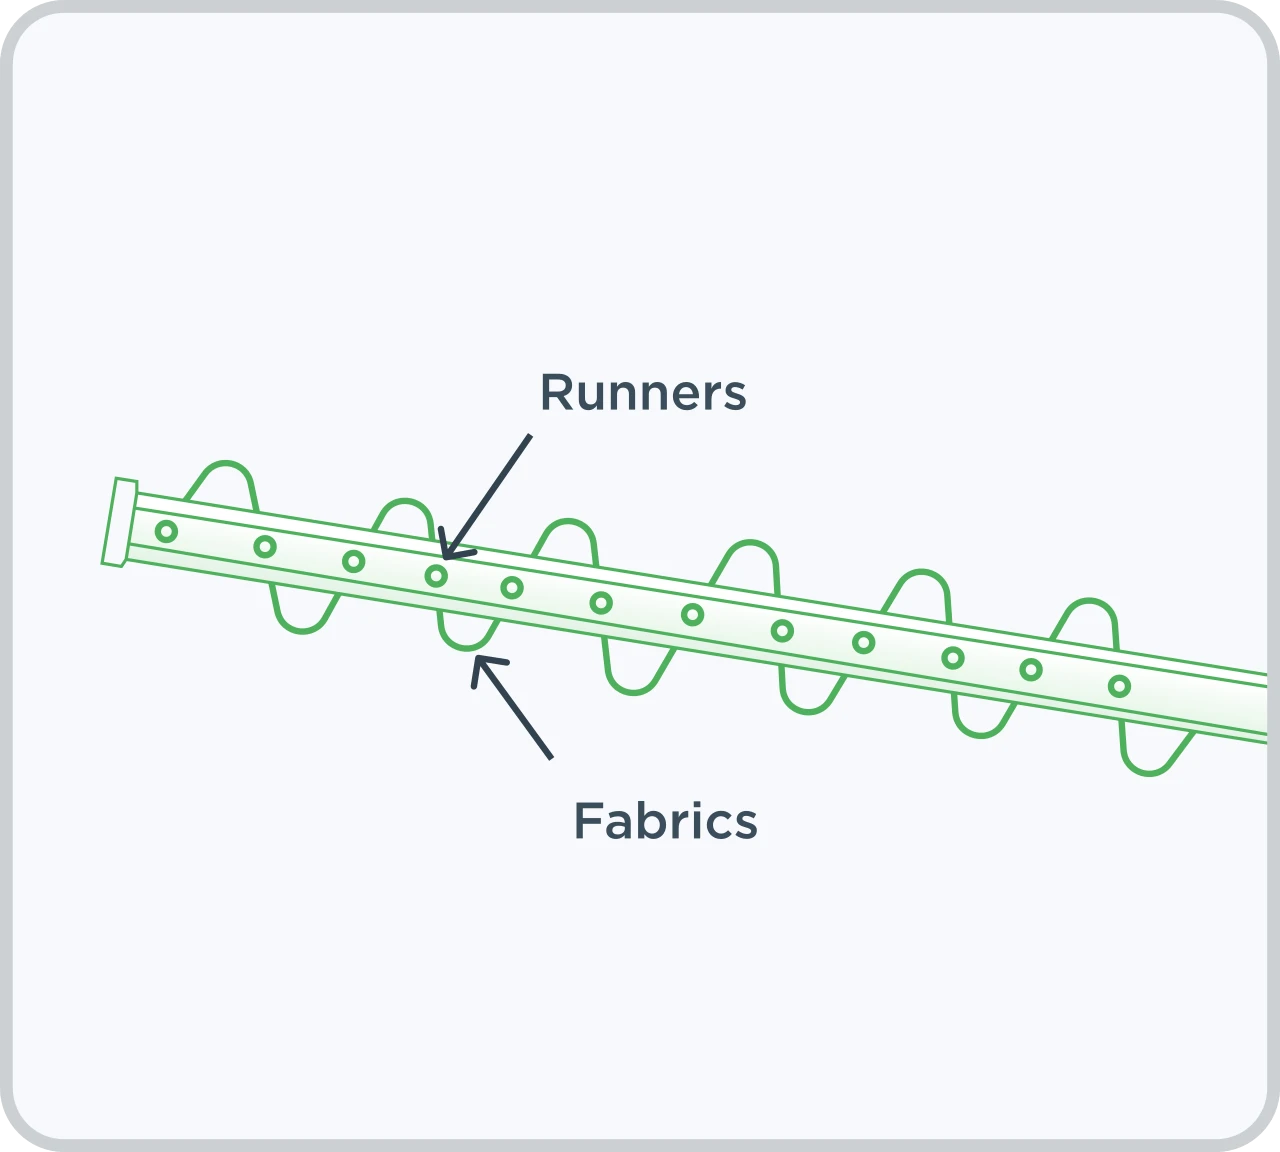
C. Continue hooking the curtain onto all other runners, ensure that the fabric waves from the front to the back
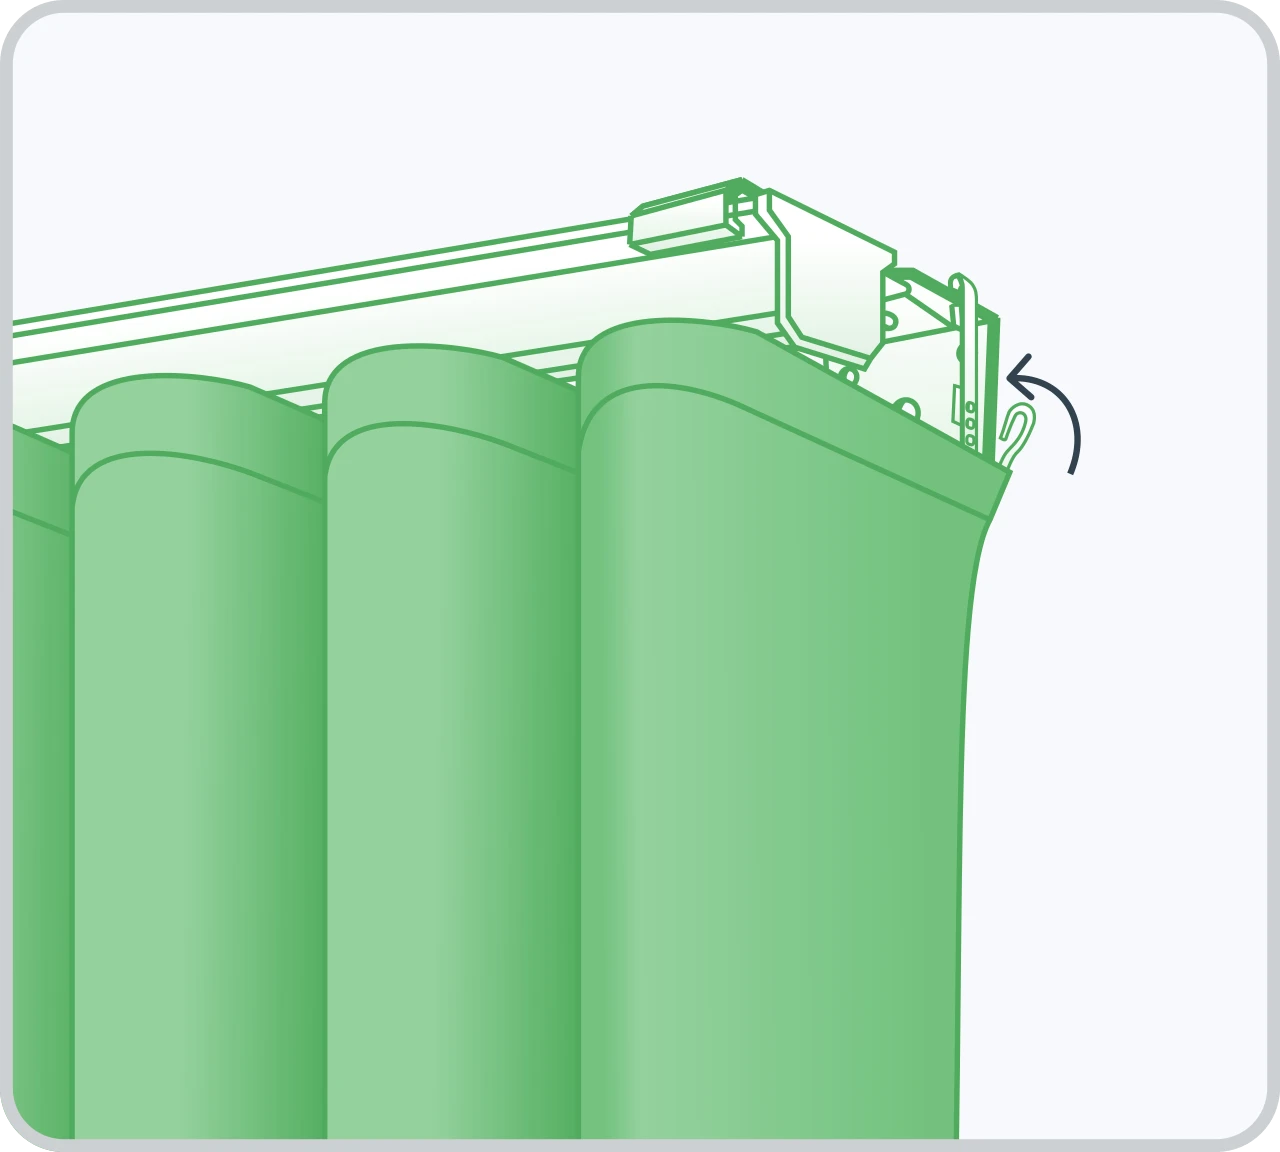
D. For curtains with returns: You will have an extra hook on the curtain that wraps around the end of the track, and hooks to the return clip you installed earlier
How To Dress Your S-Fold Curtains
When it comes to getting the best look from your curtains, the way you hand and dress them makes all the difference.
Pleated Curtains
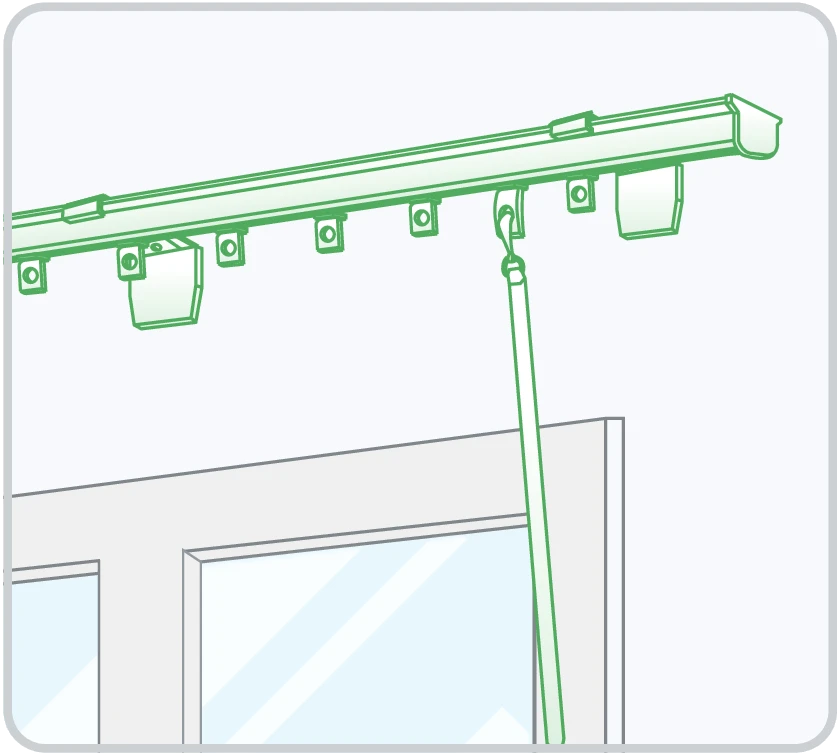
A. Attach your curtain wand
Clip your wand into the second runner on the leading end of the curtain. The runner will be slightly longer than the others
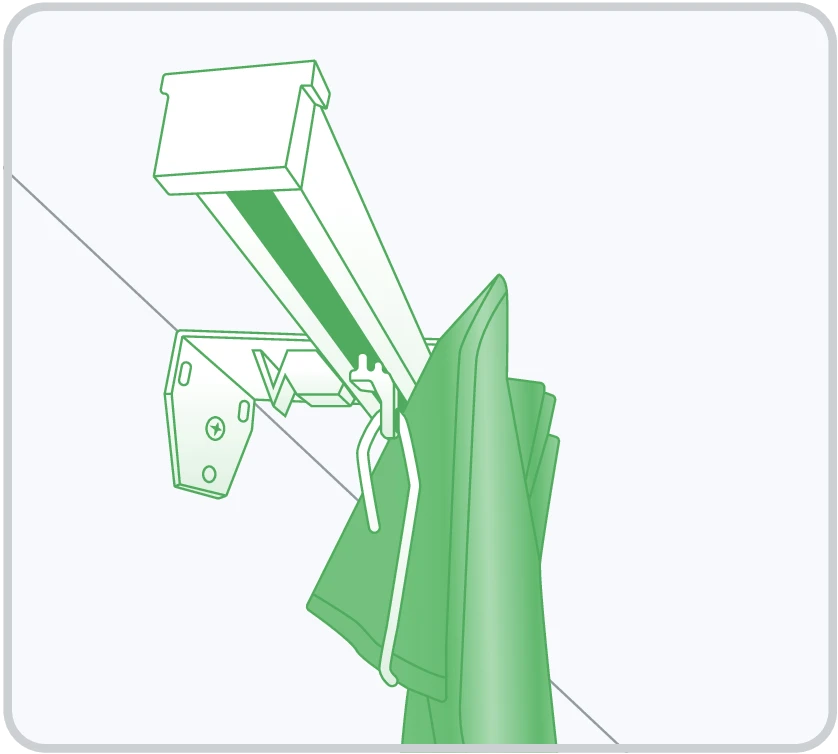
B. Starting at the leading or inside end of the curtain, clip the first hook into the runner
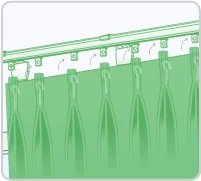
C. Continue hooking the curtain onto all other runners
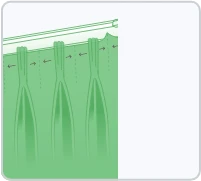
D. Put a crease between each pleat by putting your finger behind the fabric, pulling it forward and putting in a crease.
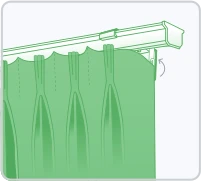
E. For curtains with returns: You will have an extra hook on the curtain that wraps around the end of the track and hooks to the return clip you installed earlier.

Updates
Get the latest news and product releases delivered straight to your inbox each week.
We respect your privacy and only send what matters.