


How to Install Plantation Shutters
The right installation for a perfect finish
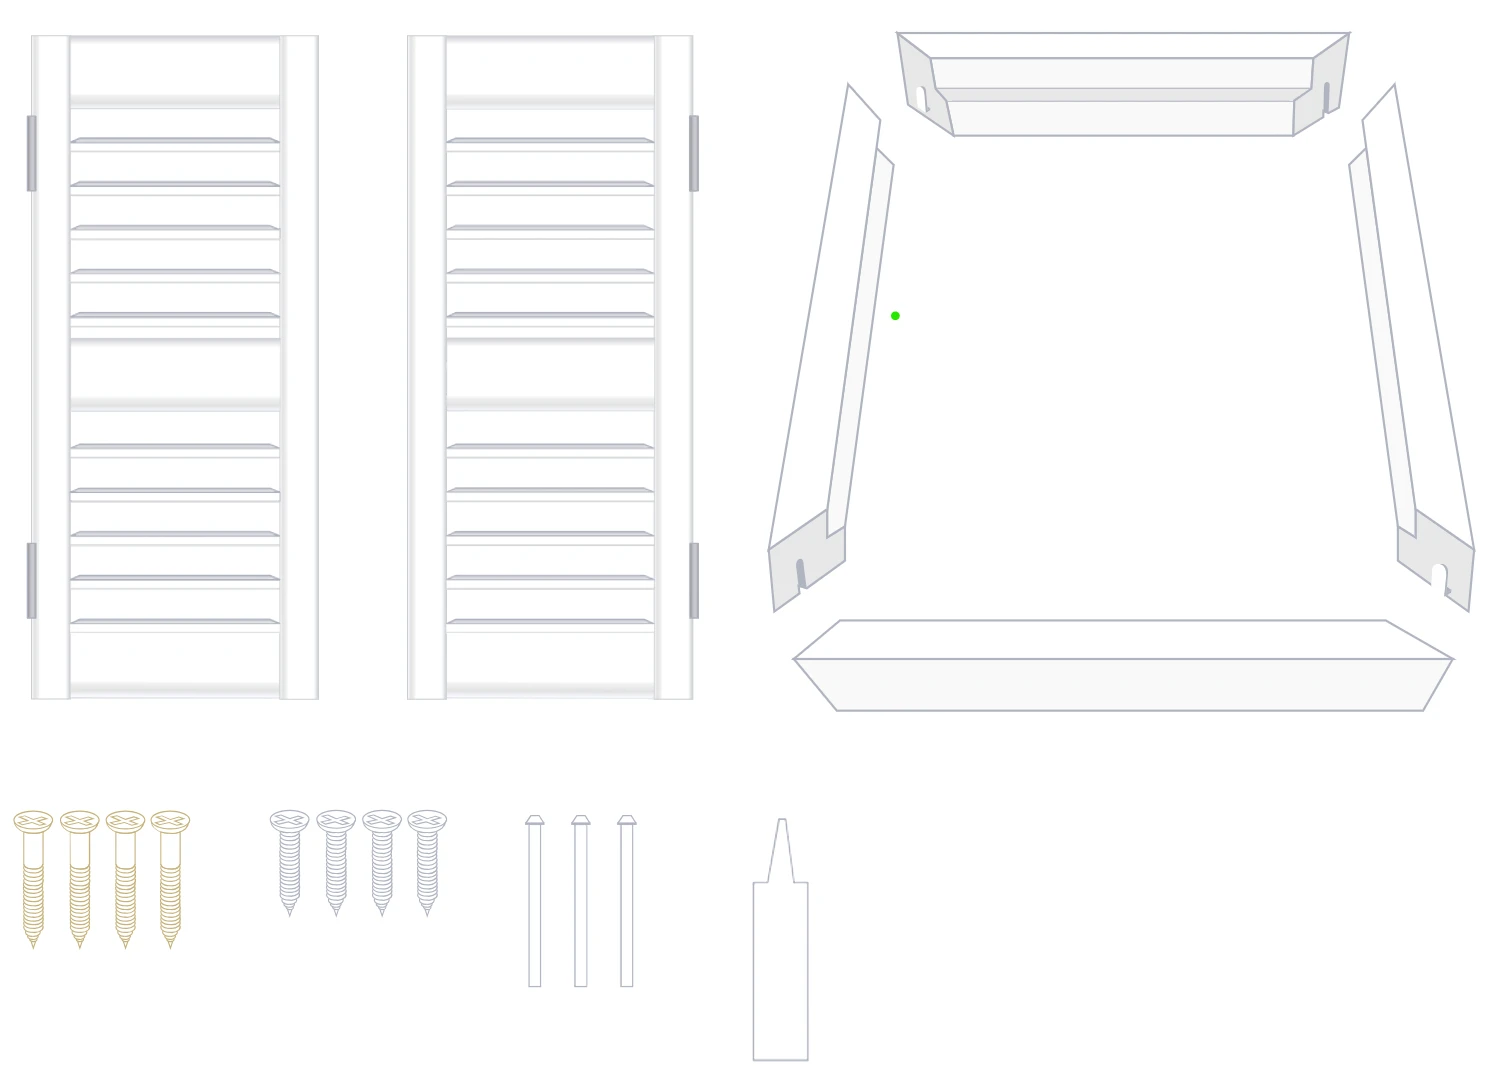
Organise your parts and check you have everything before commencing installation.

Shutter Panels
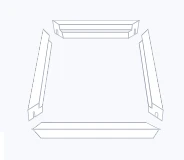
Shutter Frame (in sections)
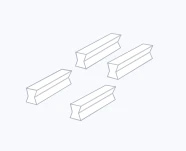
Hoffmann keys (attached to shutter frame)
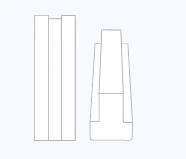
T Posts (only if there are 3 or more panels)

Child Safety

Magnet Catchers
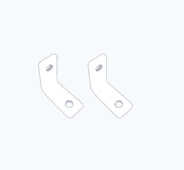
T post brackets (only if there are 3 or more panels)
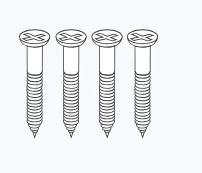
Long screws (for T posts)
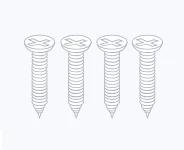
Hinge scres
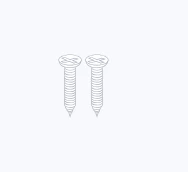
Small screws with white heads
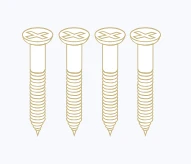
Gold Screws
Paint repaire kit
Unpack your kit, and gently lay it all out on a clean, hard surface or the cardboard packaging it came in. Be careful not to scratch the parts when moving them.
Steps

Click your shutter frame together and screw holes
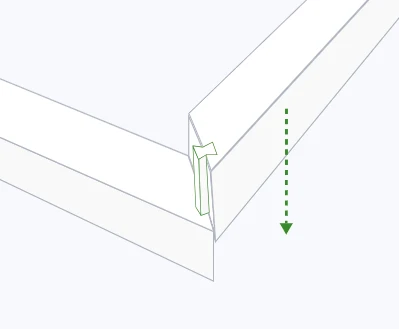
A. Click each section of your shutter frame together using the Hoffmann keys in your custom kit, and feel free to use your body weight.
The keys come attached to sections of your shutter frame. If they've fallen out that's OK, just slide them back in.
If you're finding it difficult, it's usually because the Hoffmann keys have come out on one side.
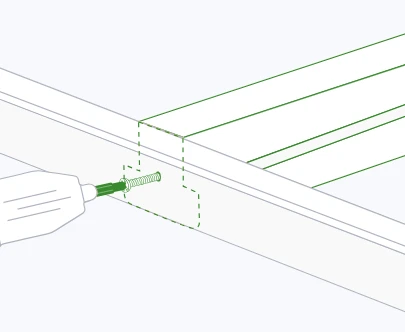
B. If you have T posts, screw them onto your shutter frame using your cordless drill and the long black screws in your custom kit. There are pre drilled holes on your shutter frame, to show where you'll attach the T posts. The top of your T post will be labelled t, and the bottom b.
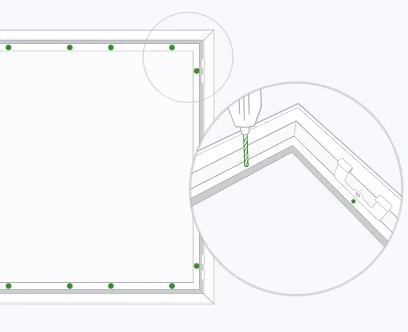
C. Turn over your shutter frame and lay it back down. Using your cordless drill with the 3 mm drill bit, drill holes through the back of the shutter frame, in line with each hinge. Also drill four, evenly spaced holes through the back of the shutter frame at both the top and the bottom. The back of the shutter frame will attach to your window frame.

Mount your shutter frame
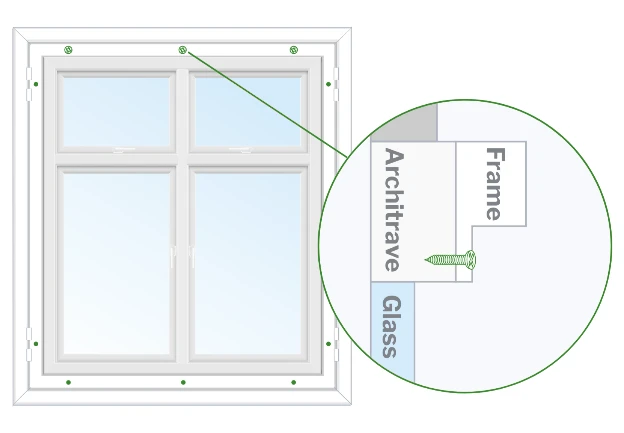
A. Lift your frame into place, on the outside of your window frame. It can help to have two people for larger frames, so you don't bump the corners of your shutter frame.
Drill each screw at the top of your shutter frame part way in, using your cordless drill with the Phillips head drill bit and the screws in your custom kit.
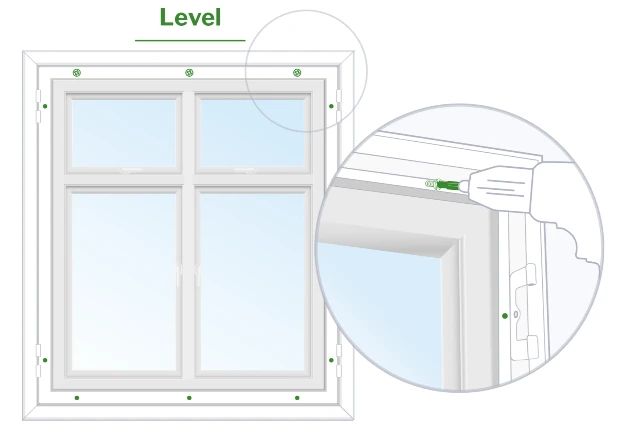
B. Wiggle the frame until you get it looking level across the top. You can rest a spirit level on top of the frame while you do this.
Tighten the top screws.
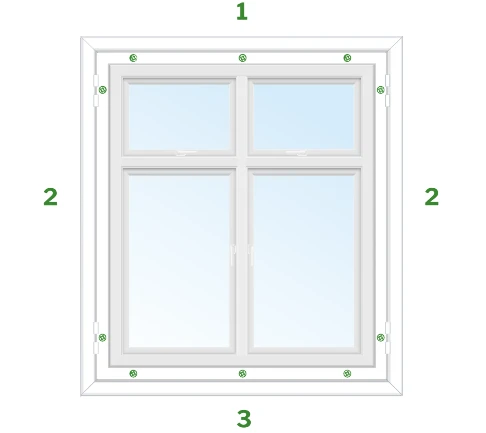
C. Drill in your side screws next, and then your bottom screws. You can check your shutter frame is even across the top by using a spirit level.

Attach your shutter panels and check your shutter frame
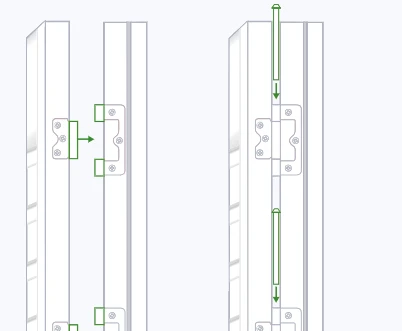
A. Remove any black bands from your hinge pins before you start. Pick up your left panel and hold into position. The brackets should line up on the left side of your shutter frame and your panel. Take a hinge pin and drop it through the bracket, from the top. Repeat for each panel.
Hinge pin not sliding in? Check if you have panels upside down or if your frame is attached upside down.
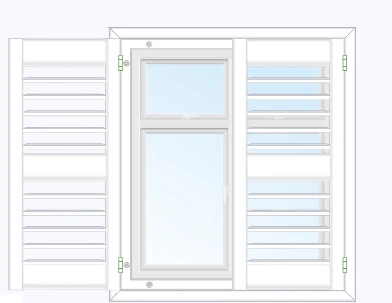
B. Check that your panels open and close easily. As they can be heavy, it's normal if you need to lift the edge of the panel and nudge it on.
Tighten the top screws.
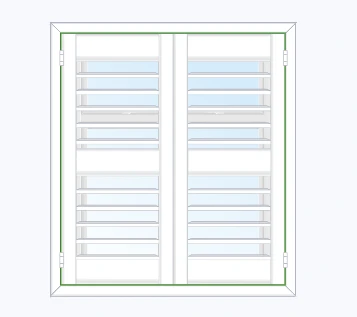
C. Check for a thin, even gap between each side of your shutter frame and your shutter panels.
Shutter panels won't stay closed? Check out the 'I need some extra help' section at the bottom.
Click your shutter frame together and screw holes
A. Click each section of your shutter frame together using the Hoffmann keys in your custom kit, and feel free to use your body weight.
The keys come attached to sections of your shutter frame. If they've fallen out that's OK, just slide them back in.
If you're finding it difficult, it's usually because the Hoffmann keys have come out on one side.
B. If you have T posts, screw them onto your shutter frame using your cordless drill and the long black screws in your custom kit. There are pre drilled holes on your shutter frame, to show where you'll attach the T posts. The top of your T post will be labelled t, and the bottom b.
C. Turn over your shutter frame and lay it back down. Using your cordless drill with the 3 mm drill bit, drill holes through the back of the shutter frame, in line with each hinge. Also drill four, evenly spaced holes through the back of the shutter frame at both the top and the bottom. The back of the shutter frame will attach to your window frame.
Mount your shutter frame
A. Lift your frame into place, onto your wall. It can help to have two people for larger frames, so you don't bump the corners of your shutter frame.
Drill each screw at the top of your shutter frame part way in, using your cordless drill with the Phillips head drill bit and the screws in your custom kit. Remember it's best to attach your shutters to wall studs.
Using plaster wall anchors or screwing into concrete, stone, brick or tile? Check out our guide for attaching to different surfaces.
B. Wiggle the frame until you get it looking level across the top. You can rest a spirit level on top of the frame while you do this.
Tighten the top screws.
C. Drill in your side screws next, and then your bottom screws. You can check your shutter frame is even across the top by using a spirit level.
Attach your shutter panels and check your shutter frame
A. Remove any black bands from your hinge pins before you start. Pick up your left panel and hold into position. The brackets should line up on the left side of your shutter frame and your panel. Take a hinge pin and drop it through the bracket, from the top. Repeat for each panel.
Hinge pin not sliding in? Check if you have panels upside down or if your frame is attached upside down.
B. Check that your panels open and close easily. As they can be heavy, it's normal if you need to lift the edge of the panel and nudge it on.
C. Check for a thin, even gap between each side of your shutter frame and your shutter panels.
Shutter panels won't stay closed? Check out the 'I need some extra help' section at the bottom.
Click your shutter frame together and screw holes
A. Click each section of your shutter frame together using the Hoffmann keys in your custom kit, and feel free to use your body weight. The keys come attached to sections of your shutter frame. If they've fallen out that's OK, just slide them back in.
If you're finding it difficult, it's usually because the Hoffmann keys have come out on one side.
B. If you have T posts, screw them onto your shutter frame using your cordless drill and the long black screws in your custom kit. There are pre drilled holes on your shutter frame, to show where you'll attach the T posts. The top of your T post will be labelled t, and the bottom b.
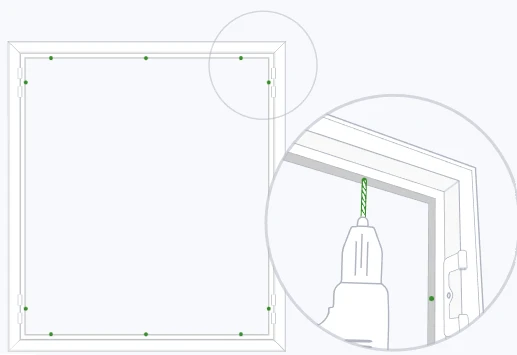
C. Using your cordless drill with the 3 mm drill bit, drill holes through the inside of the shutter frame, in line with each hinge. Also drill two, evenly spaced holes through the inside of the shutter frame near both the top and the bottom corners.
Mount your shutter frame
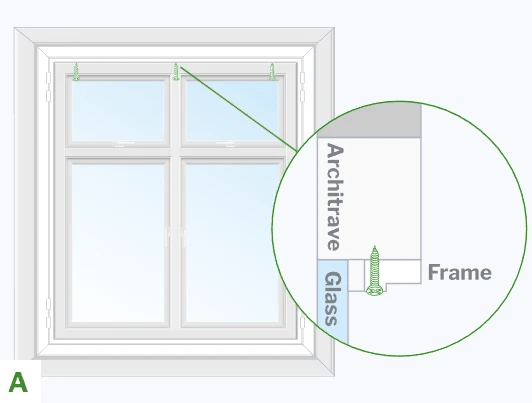
A. Lift your frame into place, on the inside of your window frame or recess. It can help to have two people for larger frames, so you don't bump the corners of your shutter frame. The front of the shutter frame should be flush with your wall, for a really seamless fit. And make sure there is an even gap between your shutter frame and your window frame or recess on all four sides.
Drill the screws part way in near the top corners of your shutter frame, using your drill with the Phillips head drill bit and the screws in your kit.
Screwing into concrete, stone, brick or tile? Check out our guide for attaching to different surfaces.
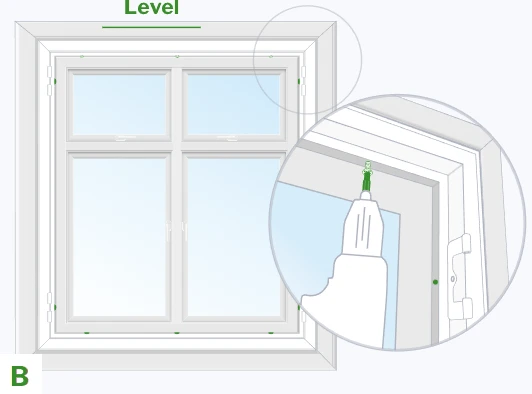
B. Wiggle the frame until you get it looking level across the top, then tighten the top screws. You can hold a spirit level on the underside of the frame at the top, to check the frame is level.
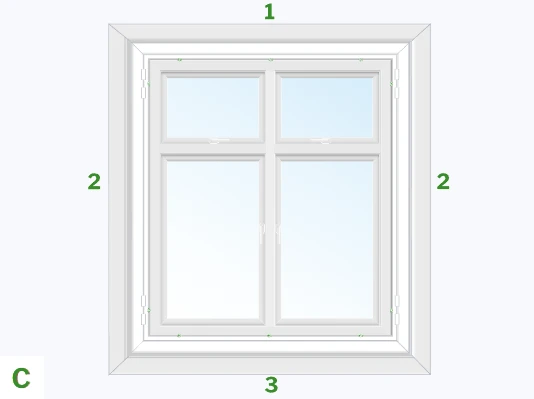
A. Drill in your side screws next, and then your bottom screws. It helps to back in and out any screws in the middle of your frame. If you over tighten them, it can make the frame bow.
You can check your shutter frame is still even by holding a spirit level on the underside of the frame at the top.
Attach your shutter panels and check your shutter frame
A. Remove any black bands from your hinge pins before you start. Pick up your left panel and hold into position. The brackets should line up on the left side of your shutter frame and your panel. Take a hinge pin and drop it through the bracket, from the top. Repeat for each panel.
Hinge pin not sliding in? Check if you have panels upside down or if your frame is attached upside down.
B. Check that your panels open and close easily. As they can be heavy, it's normal if you need to lift the edge of the panel and nudge it on.
C. Check for a thin, even gap between each side of your shutter frame and your shutter panels.
Shutter panels won't stay closed? Check out the 'I need some extra help' section at the bottom.

Finalise the shutter
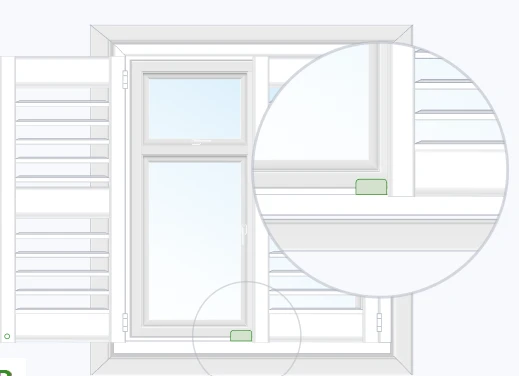
A. Screw the magnet catchers onto the front of your light block, using your cordless drill with the Phillips head drill bit and the small screws with the white heads in your custom kit. The magnet catchers on your light block, line up with the magnets on the back of your shutter panels.
Shutter panels won't stay closed? Check out the 'I need some extra help' section at the bottom.
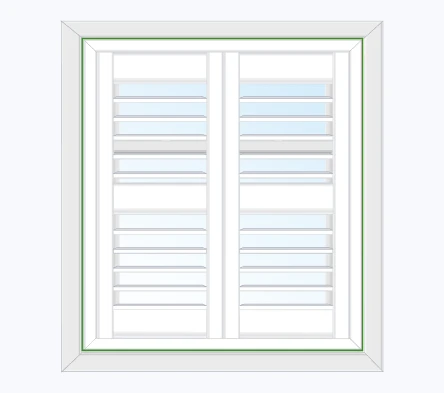
B. Caulk around the sides of your shutter frame to stop light seeping in. Grab the gap seal tube in your custom kit and pop it into your gap seal applicator gun, then follow the instructions on the gap seal tube. Move your gap seal applicator gun along each side, slowly and at a 45 degree angle. Wipe away excess with a damp cloth or your finger.
Let it dry and do it again if you've got a wide gap around the sides. It's best to do it in direct sunlight so you can see any areas you've missed.

Updates
Get the latest news and product releases delivered straight to your inbox each week.
We respect your privacy and only send what matters.