


How to Install Roller BLinds
The right installation for a perfect finish
Organise your parts and check you have everything before commencing installation.

1 x Roller Blind
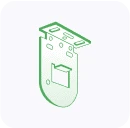
1 x Chain Control End Bracket
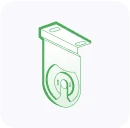
1 x Pin End Bracket

Screws

Child Safety
Double check the fitting location
- •
Is this blind going in the recess or on the face?
- •
What side is the control on?
What are you attaching your blind to?
Timber
That’s perfect, just follow the below instructions
Plaster
- •
Check to see if you have wall studs where the brackets will attach, if not, we recommend using a Ramset hollow wall anchor gun and 10mm wall anchors.
- •
You can find these:
1. Bunnings
2. Sydney Tools
3. Total Tools
Concrete
Use a masonry drill and concrete screws
Make sure you have clean hands!
The last thing you want to do is get your blind dirty whilst installing it.
Steps

Drill Your Pilot Holes
Before attaching your brackets, drilling pilot holes is recommended to avoid your architrave from splitting
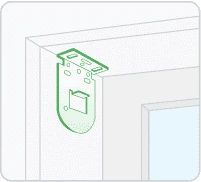
A. Hold your brackets in their install position inside the recess
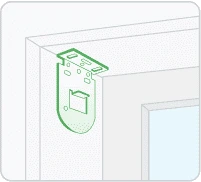
B. Use a pencil to mark where the screws will go
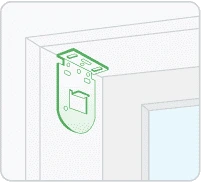
C. Using a 3mm drill you pilot holes

Attach Your Brackets
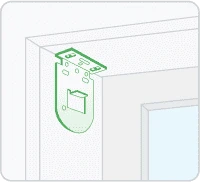
A. Ensure you have the control bracket on the correct side
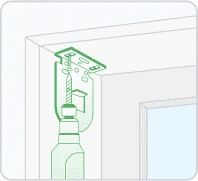
B. Using your drill, attach the bracket using 2 of the provided screws
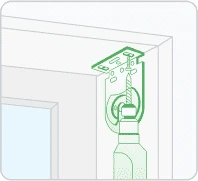
C. Repeat this process for the pin end bracket

Click In Your Blind
Your blind is designed to simply click into the brackets
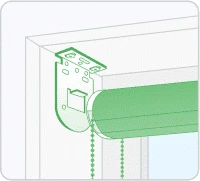
A. Slide the control end of your blind onto the bracket tongue, ensuring that the chain dust cover is at the top
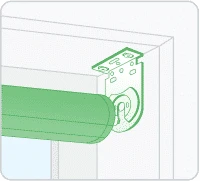
B. Gently slide the pin end of your blind into the pin end bracket, using the channel on the bracket itself. Listen for a "click" as it locks into place.

Attach The Child Safety Chain Keeper
Using the child safety chain keeper is required by law to protect children from strangulation.
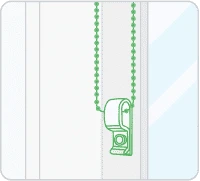
A. Clip the chain keeper over your chain
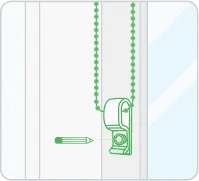
B. Mark where you want it attached and drill a pilot hole. The chain should be slightly under tension, while still allowing free movement of the chain.
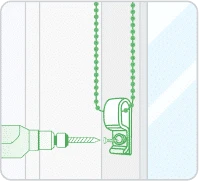
C. Attach the chain keeper using your drill and the screw provided
Drill Your Pilot Holes
Before attaching your brackets, drilling pilot holes is recommended to avoid your architrave from splitting
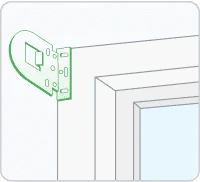
A. Hold your brackets in their install position inside the recess
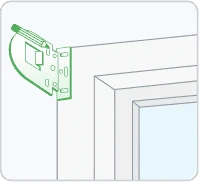
B. Use a pencil to mark where the screws will go
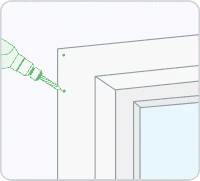
C. Using a 3mm drill you pilot holes
Attach Your Brackets
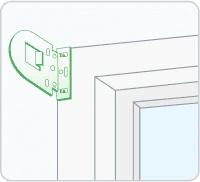
A. Ensure you have the control bracket on the correct side
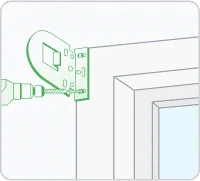
B. Using your drill, attach the bracket using 2 of the provided screws
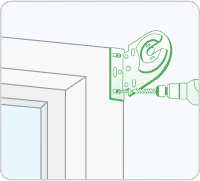
C. Repeat this process for the pin end bracket
Click In Your Blind
Your blind is designed to simply click into the brackets
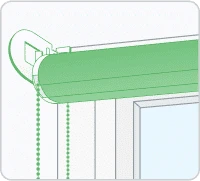
A. Slide the control end of your blind onto the bracket tongue, ensuring that the chain dust cover is at the top
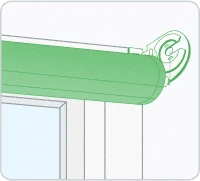
B. Gently slide the pin end of your blind into the pin end bracket, using the channel on the bracket itself. Listen for a "click" as it locks into place.
Attach The Child Safety Chain Keeper
Using the child safety chain keeper is required by law to protect children from strangulation.
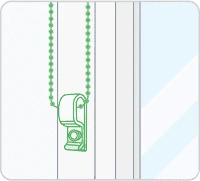
A. Clip the chain keeper over your chain
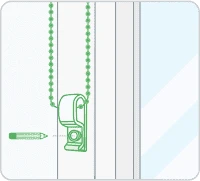
B. Mark where you want it attached and drill a pilot hole. The chain should be slightly under tension, while still allowing free movement of the chain.
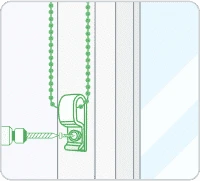
C. Attach the chain keeper using your drill and the screw provided
Drill Your Pilot Holes
Before attaching your brackets, drilling pilot holes is recommended to avoid your architrave from splitting
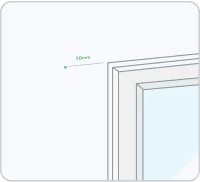
A. Measure 50mm outside of the corner of your window (assuming you followed our measuring instructions when ordering)
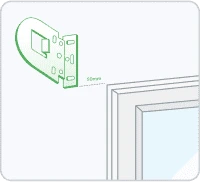
B. Place your bracket so that the bottom outside corner is directly on the 50mm spot. This is where your bracket will be installed.
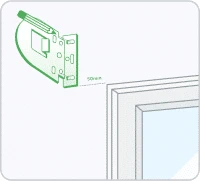
C. Use a pencil to mark where the screws will go
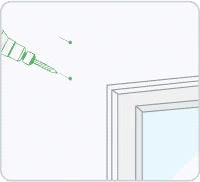
D. Using a 3mm drill bit, drill your pilot holes
Attach Your Brackets
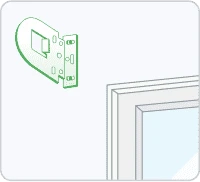
A. Ensure you have the control bracket on the correct side
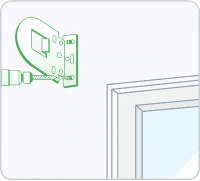
B. Using your drill, attach the bracket using 2 of the provided screws
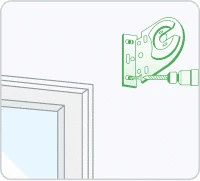
C. Repeat this process for the pin end bracket
Click In Your Blind
Your blind is designed to simply click into the brackets
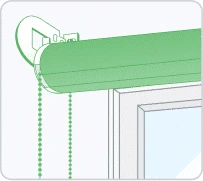
A. Slide the control end of your blind onto the bracket tongue, ensuring that the chain dust cover is at the top
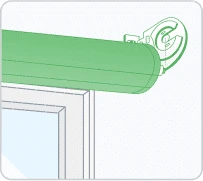
B. Gently slide the pin end of your blind into the pin end bracket, using the channel on the bracket itself. Listen for a "click" as it locks into place.
Attach The Child Safety Chain Keeper
Using the child safety chain keeper is required by law to protect children from strangulation
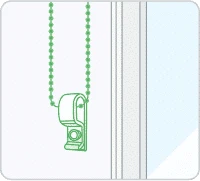
A. Clip the chain keeper over your chain
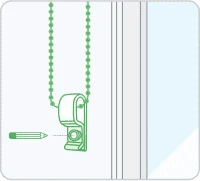
B. Mark where you want it attached and drill a pilot hole. The chain should be slightly under tension, while still allowing free movement of the chain.
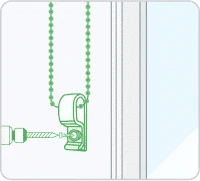
C. Attach the chain keeper using your drill and the screw provided

Updates
Get the latest news and product releases delivered straight to your inbox each week.
We respect your privacy and only send what matters.